Scene Deconstruction with James Friend BSC, ASC
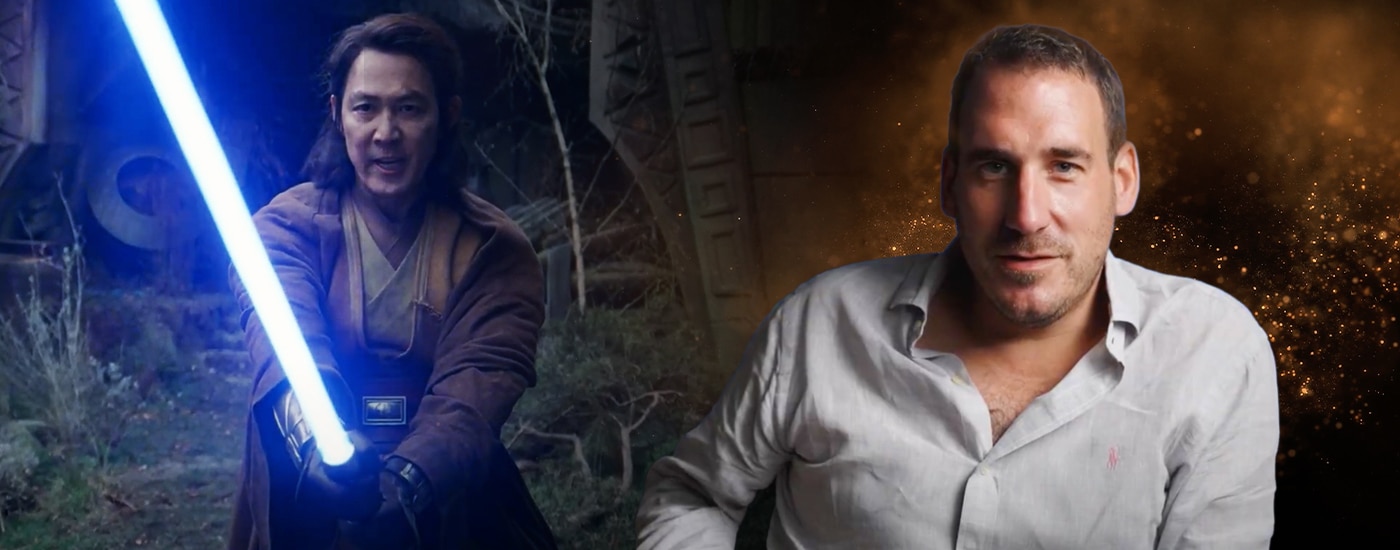
James Friend BSC, ASC is one of British cinematography’s most respected DoPs whose work on Edward Berger’s All Quiet on the Western Front (2022), earned him an Oscar, BAFTA and BSC award for best cinematography.
Recently, he served as DoP on The Acolyte, an eight-episode Lucasfilm / Disney+ Star Wars mini-series set around 100 years before Star Wars: Episode 1 – The Phantom Menace (1999). The series features Jedi Master Sol, whose investigation into shocking crimes brings him into contact with former student and padawan Osha.
The Acolyte had a production budget of over $230 million and James worked on half the episodes, including the season finale, realising something of a childhood dream.
“When you wake up in the morning and kind of think – what am I doing today at work – it was quite a pinch me moment,” James says.
Key Insights
- Compared to the use of traditional lighting gels, full colour LED lights controlled from a central lighting control desk can speed up lighting adjustments and changes.
- Modern LED lighting rigs can be used to create the illusion of motion when controlled from a panel that can sequence the output of the lights.
- Lighting a large set using large softlights on both sides of the set allows you to quickly and easily balance the background and foreground lighting for a wide range of camera angles.
- Shooting a lightsaber fight can be a lot of fun!
Night exteriors on anamorphic is quite light hungry, but obviously the Sony VENICE 2 allows you to work at the dual ISO… we had a good starting block.
James Friend, BSC, ASC

The Space Chase Scene
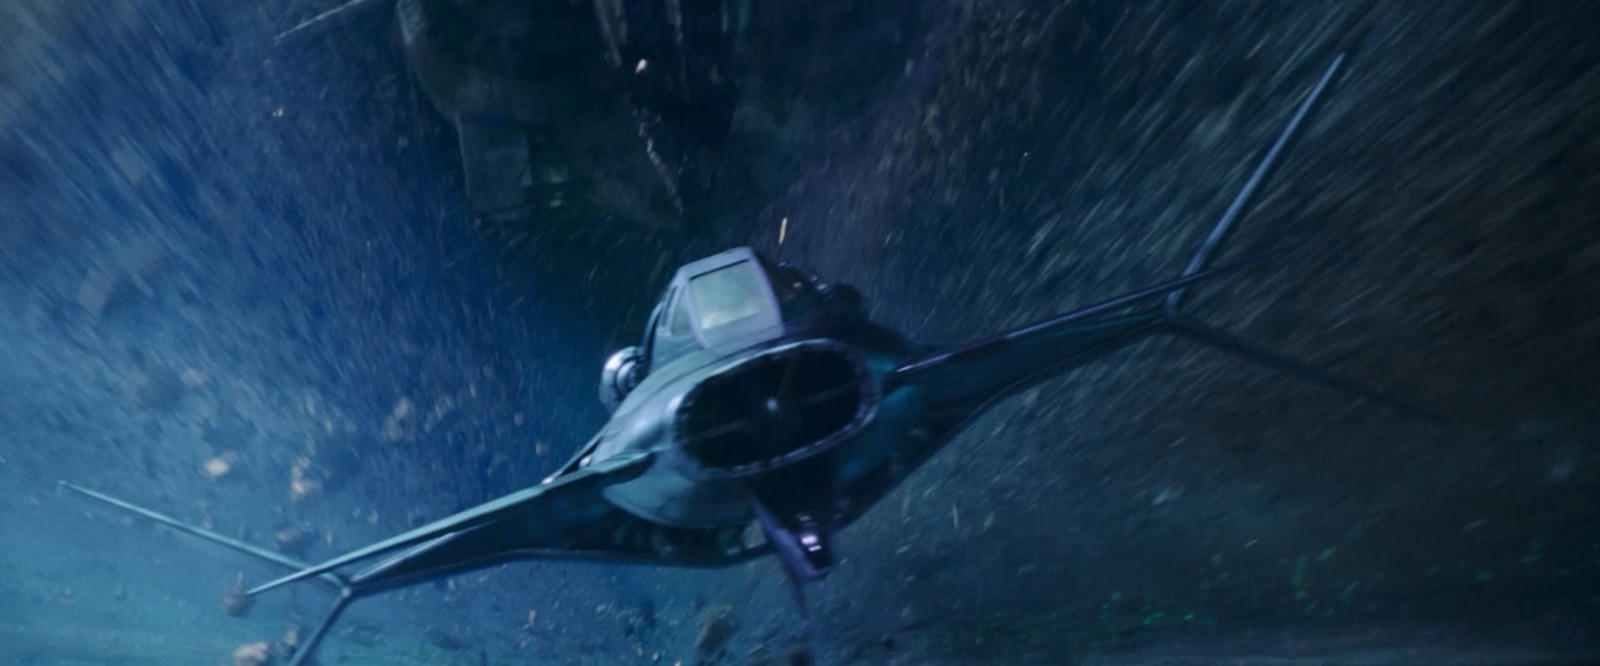
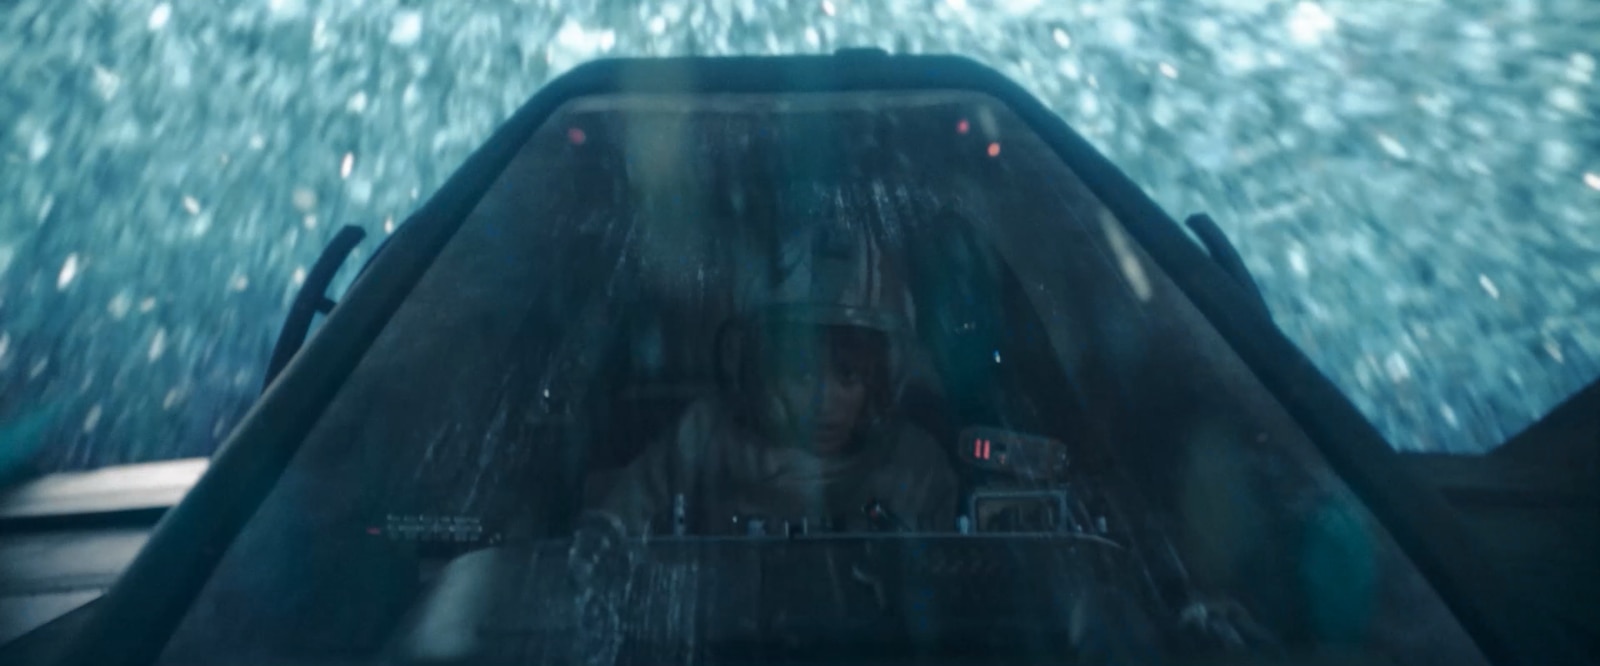
Star Wars is known for epic space battles and in this scene Sol, in his large Polan spaceship, is chasing a smaller ship piloted by Mae, Osha’s twin sister. In an attempt to lose Sol, Mae flies between a planet’s rock filled rings.
The scenes were shot using bluescreen and greenscreen techniques. To help create the sensation of flying though the rings and spaces, an LED lighting rig that could create moving light and travelling light effects by sequencing the illumination of different lights was used. Even before the final compositing was done, the dynamic and ever-changing lighting helped to create the sensation that the craft being filmed was moving through the rocks and particles that formed the rings.

In the past, James would have used coloured gels to modify the colours of the lights used to light the set, a time-consuming process involving cutting gels and fitting them as needed to every light. In The Acolyte, all the full colour LED lights were controlled from a lighting desk. Using the lighting desk, James could instantly control the colour and intensity of each light.
“Here we could actually say let’s make it this blue or this orange or this yellow or this green and I think with something like Star Wars, where you’re world building, having that level of creativity is great,” James says.
The set used for one of the Star Wars movies was adapted to become Mae’s small spaceship, being small and light this set was mounted on a shaker rig to add movement. But the cockpit of Sol’s larger Polan ship, built for the series, was much larger and too big to put it on a gimbal or shaker rig, so the set didn’t actually move. In order to give the shots a slightly shaky handheld feel, a remote head was used to add movement to the camera.
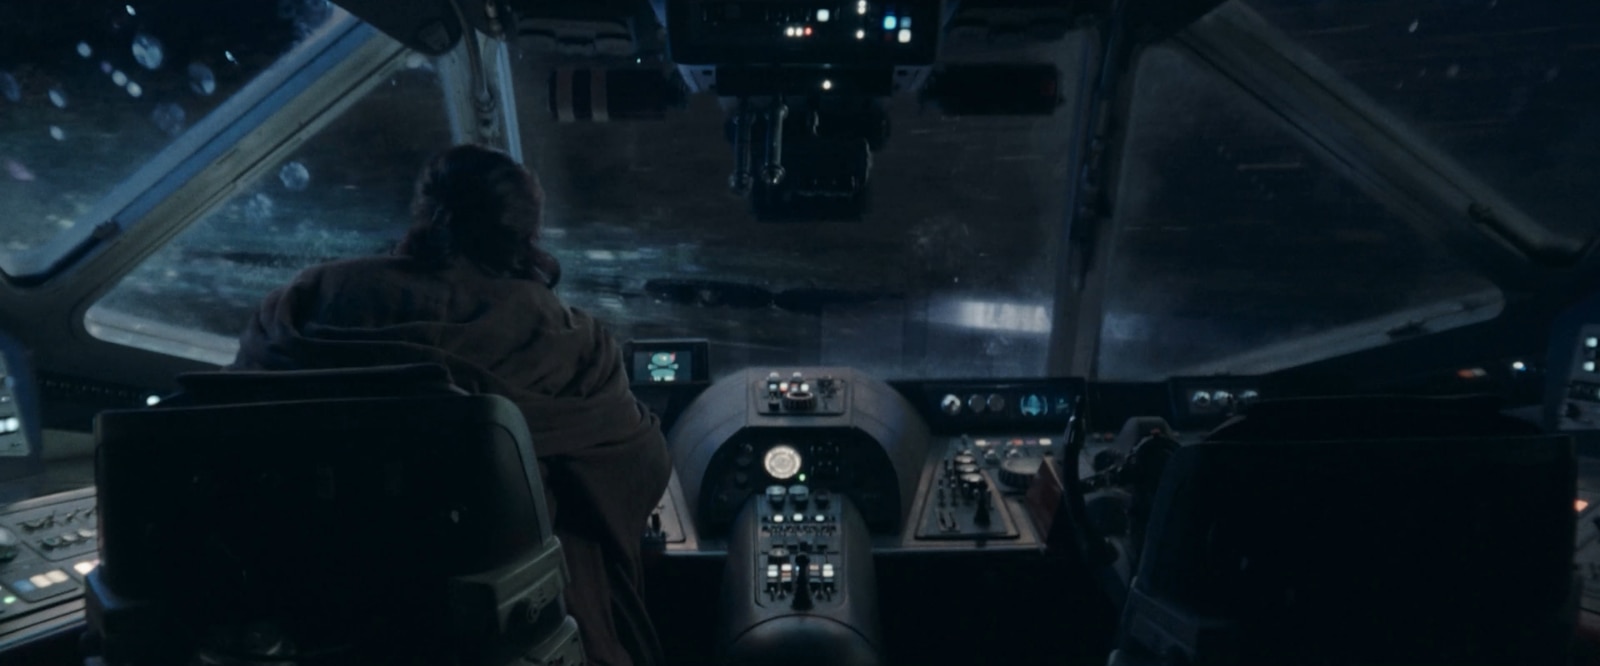
We got to do some classic Star Wars angles, straight on, through the cockpit [window] , inside the cockpit, looking straight out of the cockpit.
James Friend, BSC, ASC

Lightsaber Fight Scene
Much of this scene takes place inside a dark, unlit and abandoned building. There is no obvious source of light except the blue and red light lightsabers used during the fight.
“You essentially ignite what is going to be your key light, which is a red lightsaber, and the second that turns on you can’t help but turn into an absolute child,” James says. “And then a blue one ignites, and you put them both together and you are looking at the quality of that light and the way the shadows dance around the room.”
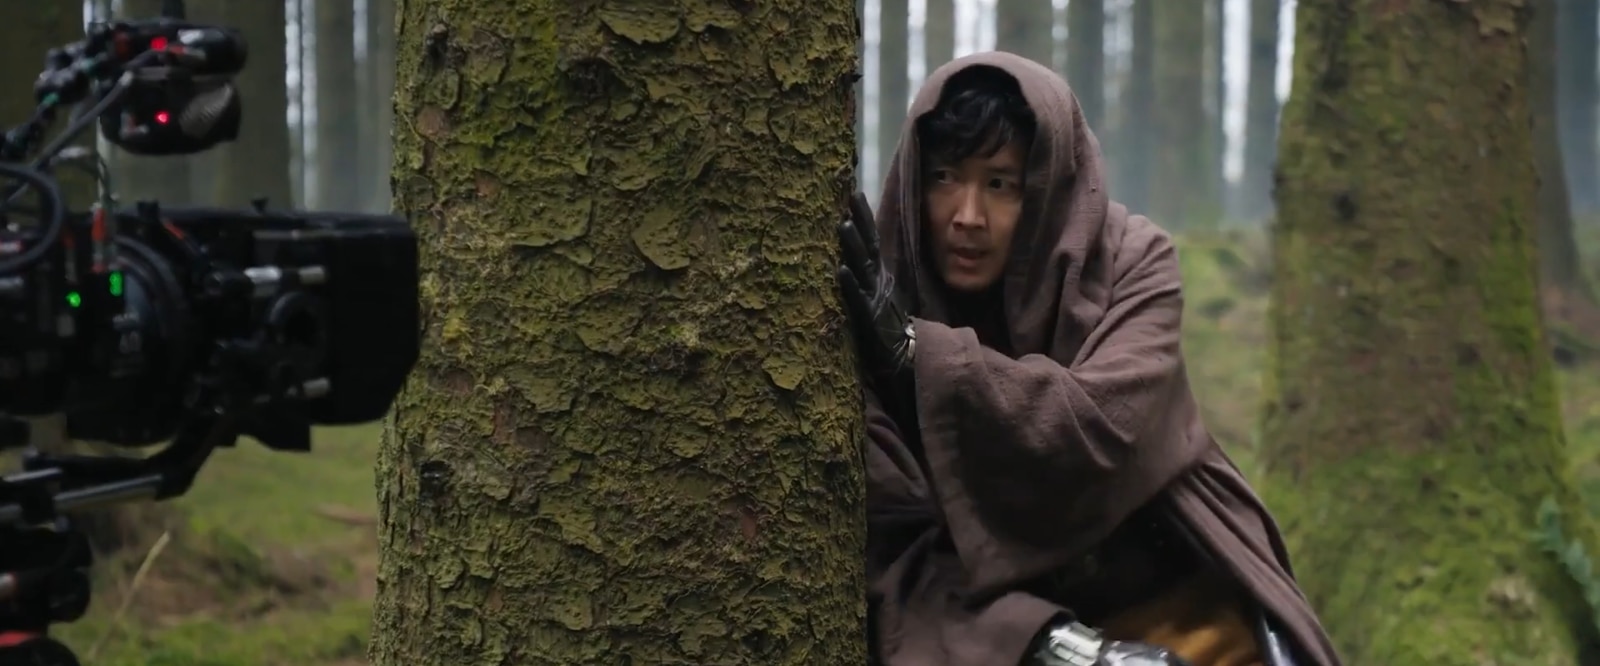
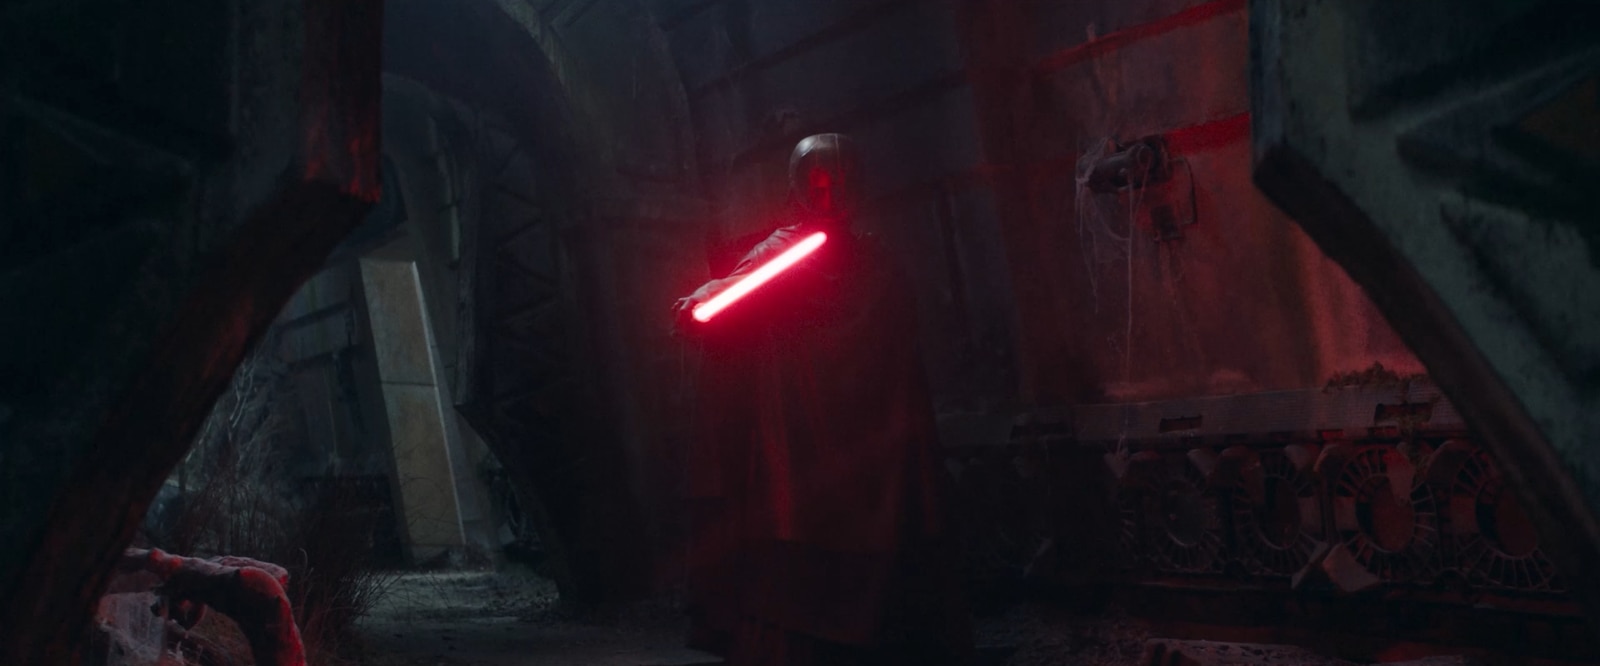
The lightsabers were controlled from James’s lighting desk. This allowed him to quickly ride the intensity of the lightsabers during the shot, adjusting the amount of lighting on the actors and the set.
“Like any good sword fight, they always look the best, from my perspective, when the audience is set back a little bit and you can actually see the lightsaber movement and the body language of the artists doing it,” James says.
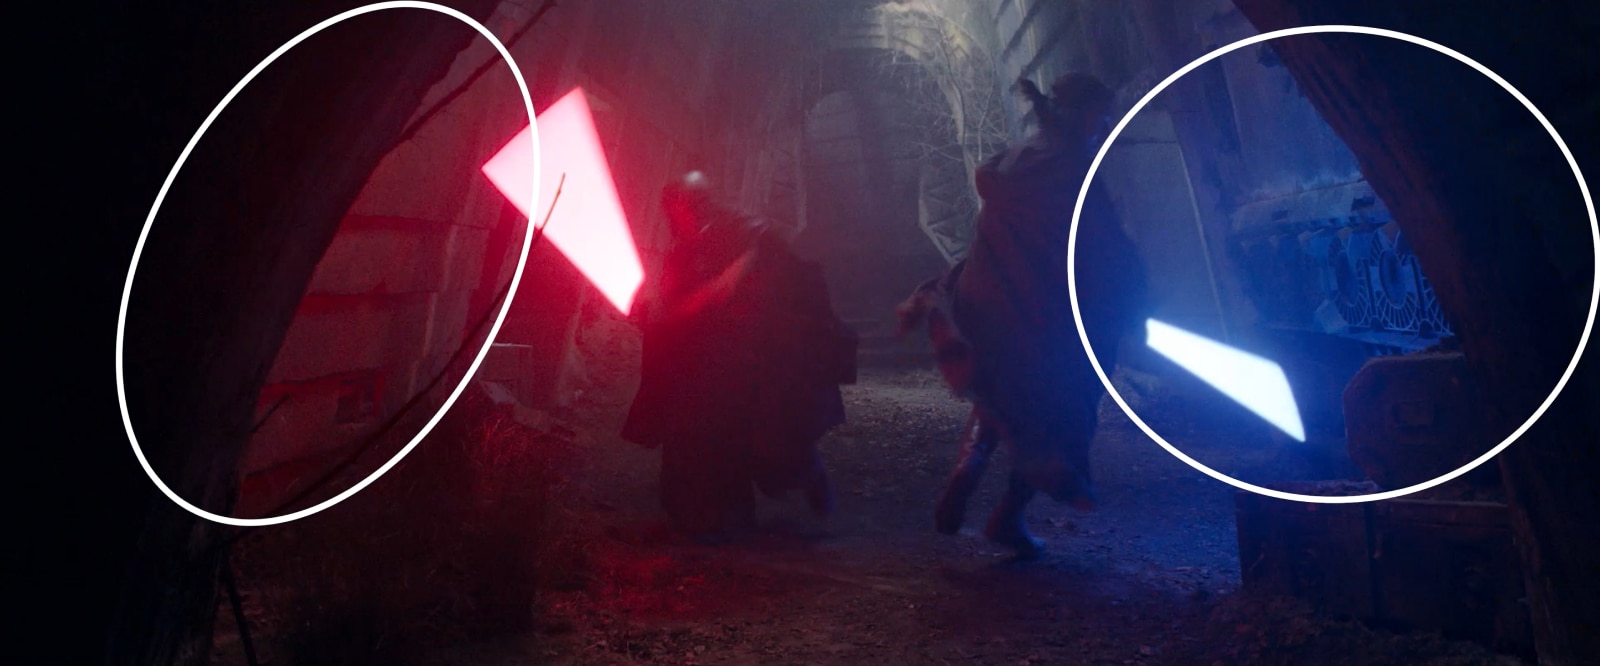
The series had what James describes as an incredible second unit and stunt department. The stunt department would choreograph and then refine a fight scene before James would go in to watch the choreography and rehearsals.
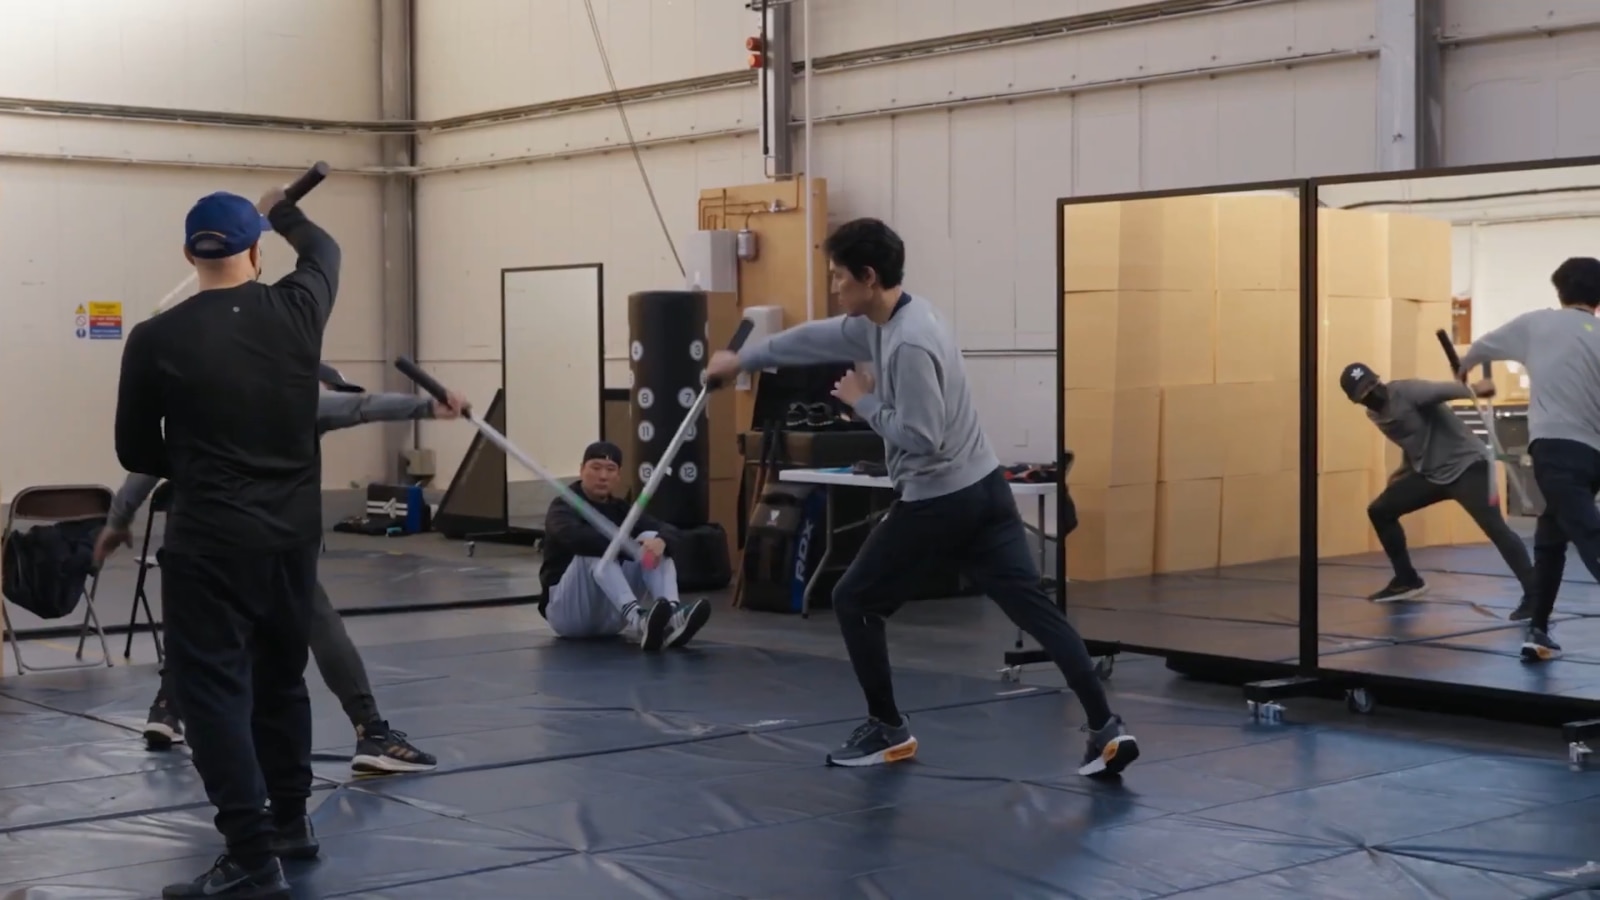
One of the challenges with lightsabers is that they have a hilt from which the bright energy beam extends when it is used. The blade is created using a long, illuminated tube. Careful planning is needed when shooting a lightsaber fight as it isn’t always possible to use the light tube; for example, when the lightsaber is attached to a belt and then drawn ready for the fight, or when the lightsaber cuts through an object. Sometimes the tube will need to be painted out or added in during post-production and this needs to be allowed for.
In order to avoid issues with lens flare from the lightsabers, James chose to use Zeiss Master Anamorphics as he felt these have very predictable flare characteristics.

Lighting Brendok Scene
The Acolyte’s story is predominantly set on Brendok, a supposedly dead planet, orbited by two moons. And most of the scenes are set at night.
“We were thinking – what does this night actually look like? What colour is the moonlight?” James says.
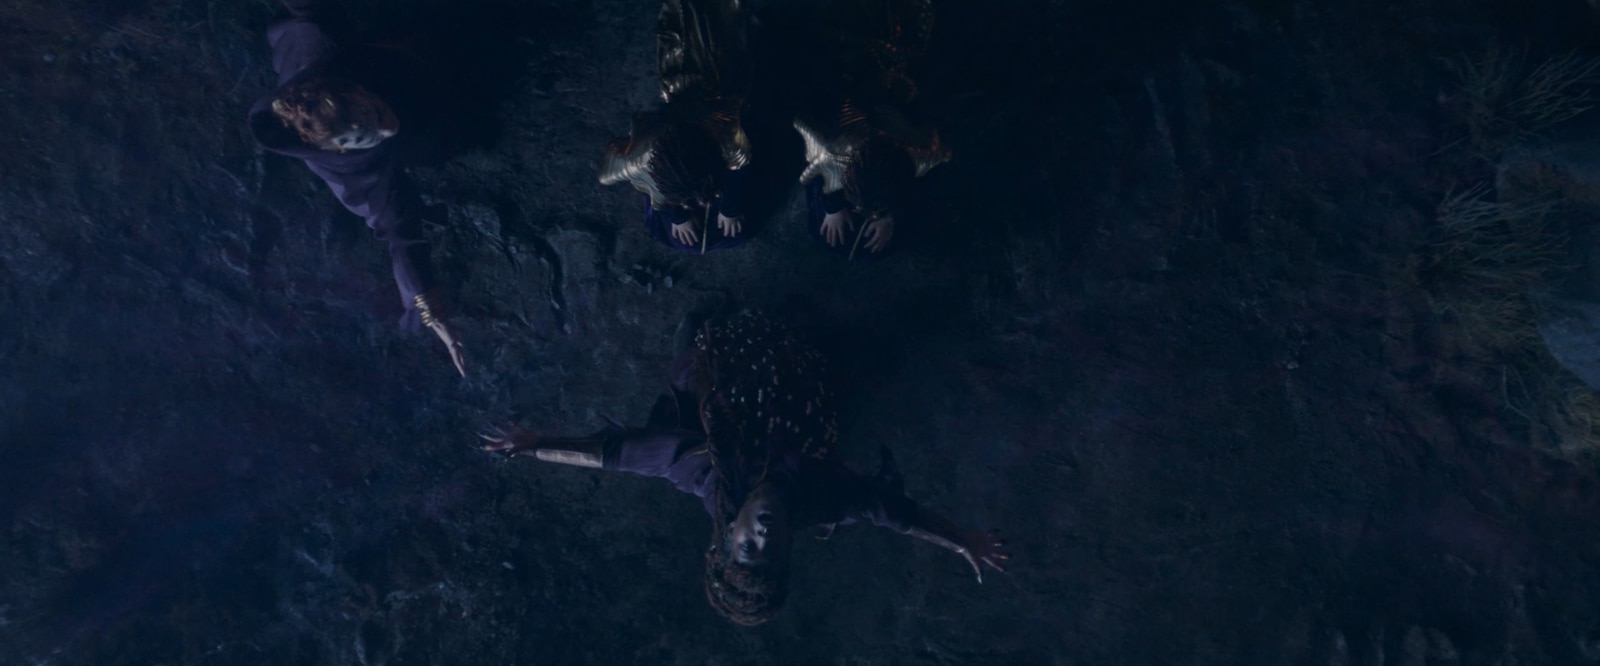
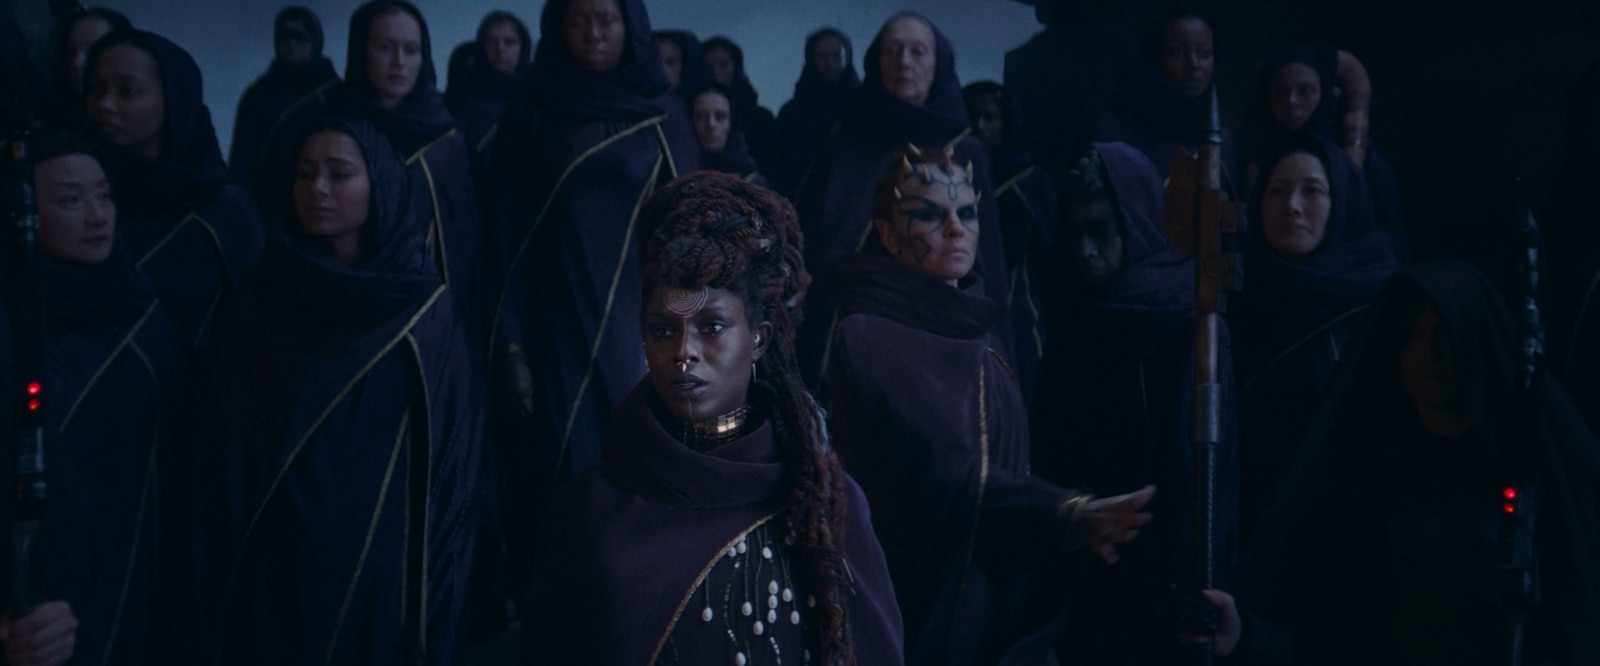
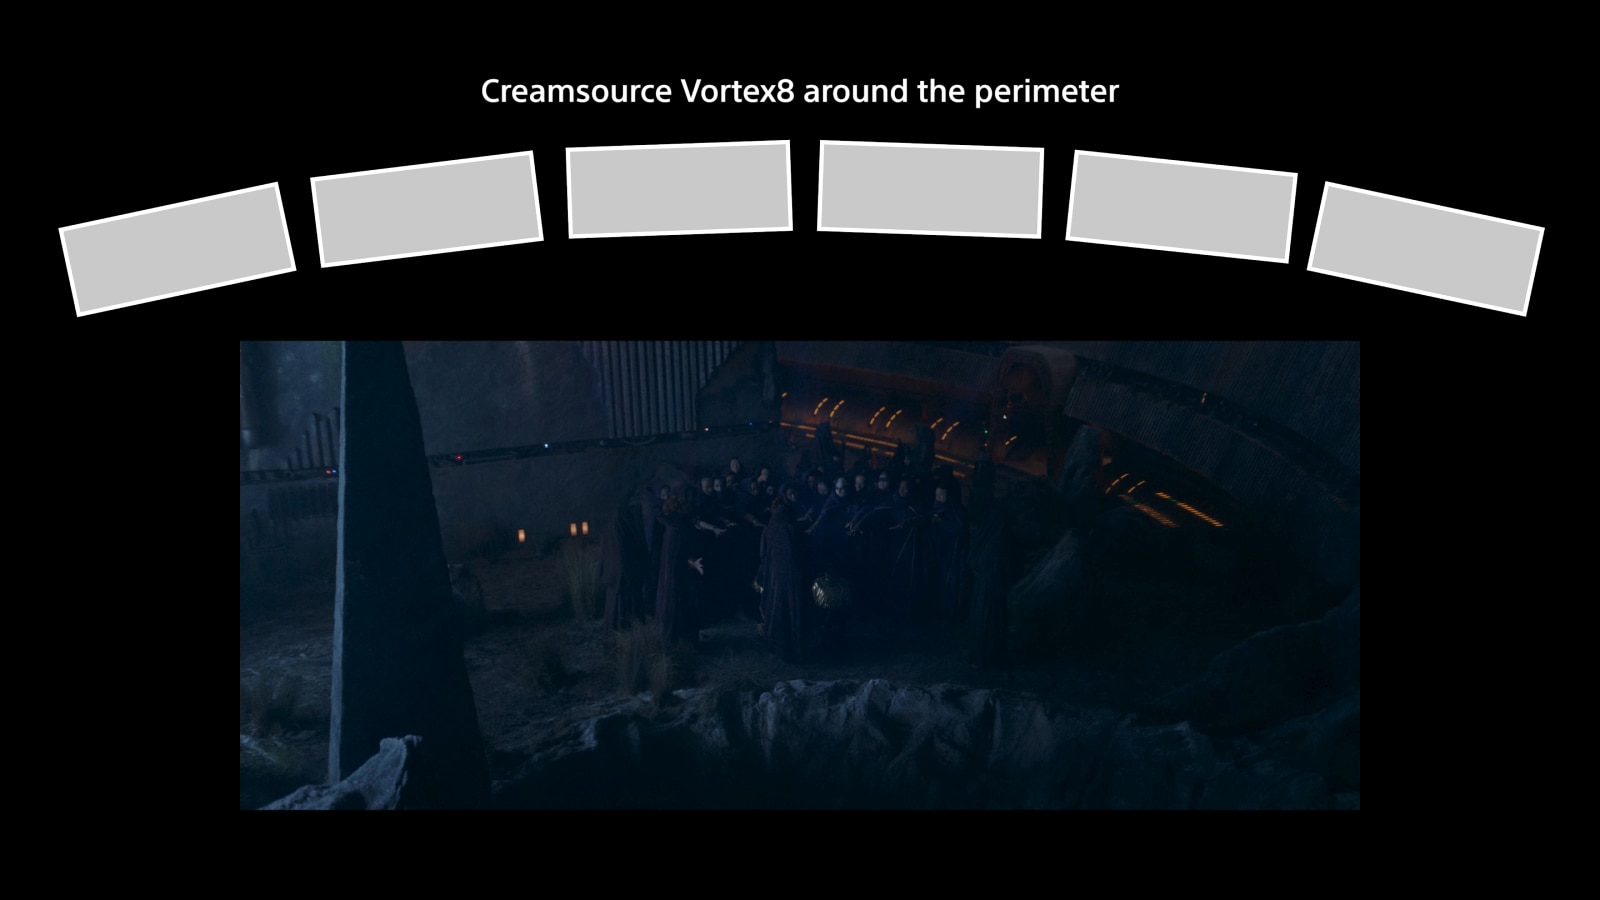
It was decided that the planet should have a blue hue and a look that James was very happy with was found. To create this look, two very large soft boxes around 40ft x 60ft (16m x 24m) were built using Creamsource Vortex panel lights. The Vortex lights were used because of their IP65 water resistance rating and each soft box was suspended on a large construction crane, one on each side of the set. The cranes allowed the height of the lights to be adjusted from ground level to very high – for when a greater spread was needed. By having these soft lights either side of the set, the lighting levels of both the foreground and background could be adjusted to suit any shooting position.

Around the edge of the set more Vortex V8 panel lights were used, these were fitted with snap bags (for a softer light) and then snap grids to control the spill and prevent the light falling directly on to walls etc.
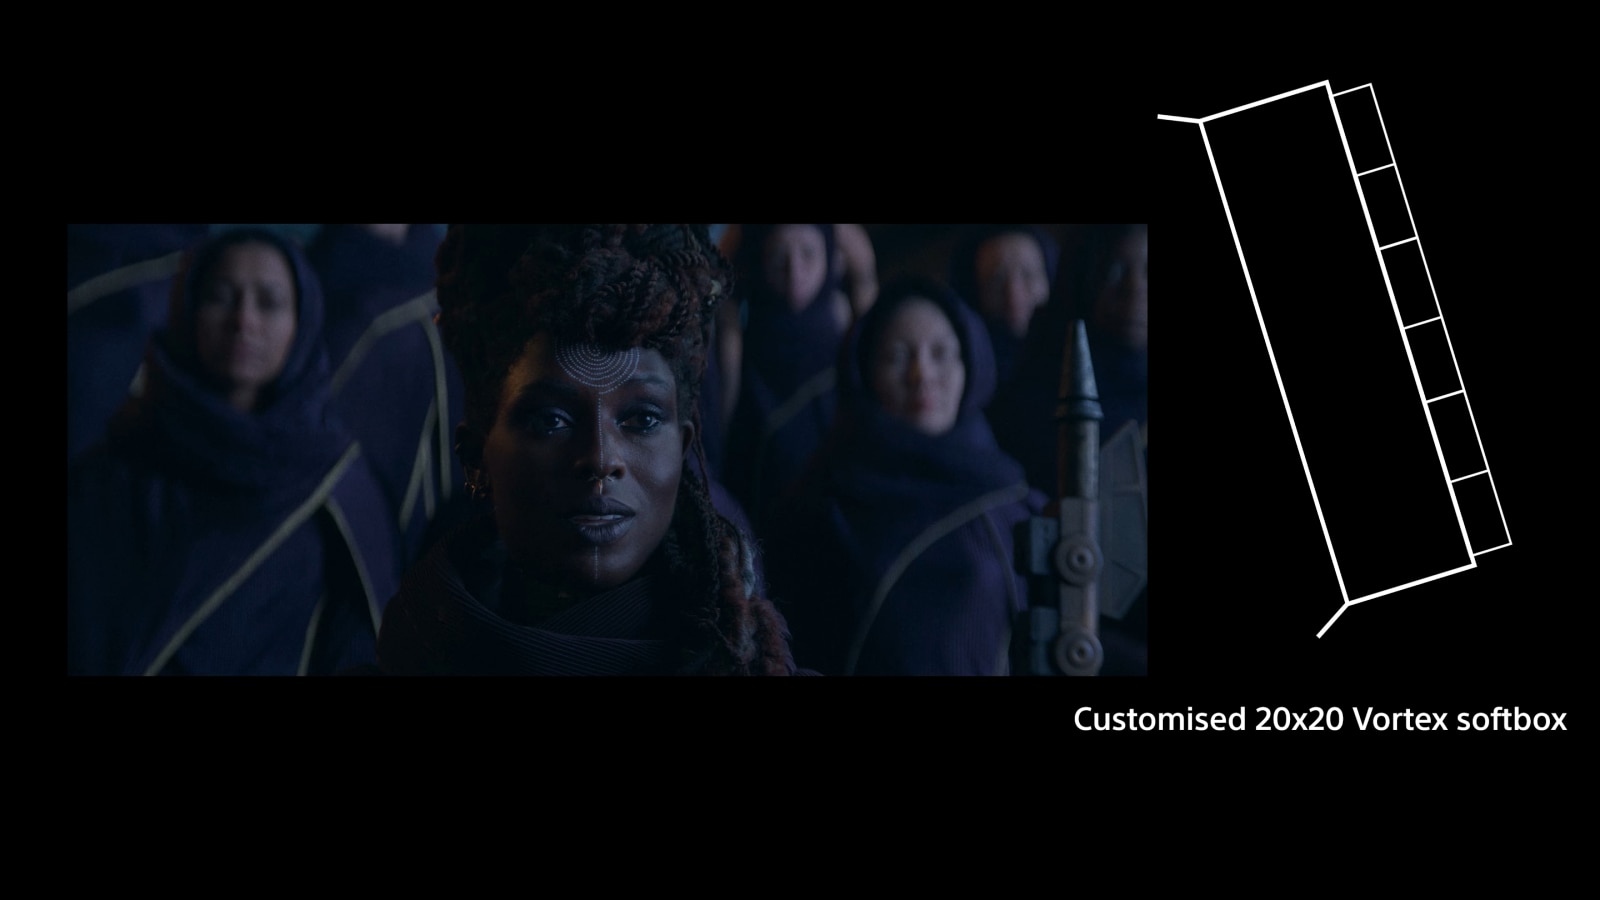
For close-up and mid shots a 20ft x 20ft (8m x 8m) diffusion frame with an egg crate and more Vortex panels behind it was walked into position and the light levels adjusted for the desired exposure.
