Blockbuster LUT V2
Alister Chapman reveals the details of his popular and now updated Blockbuster LUT.
Introduction
Using creative LUT’s it is possible to make Sony’s cameras look very different to the way they normally do, perhaps to mimic the look of a particular movie or to give the footage a stylised colour palette. LUT’s are normally applied to the log material in post production via your editing or grading software.

Blockbuster LUT explained
The Blockbuster LUT was created to mimic the look of many recent summer blockbuster movies. It soon proved popular enough for Sony to suggest I shoot a promotional clip to show off the potential of LUTs with their cameras and, as part of that production, I came up with ideas for enhancements that resulted in a V2 version.
A common method used to create a stylised look for a movie is to not just increase the luminance contrast but to also increase the colour contrast by using complimentary colours, colours that are opposite each other on the colour wheel.
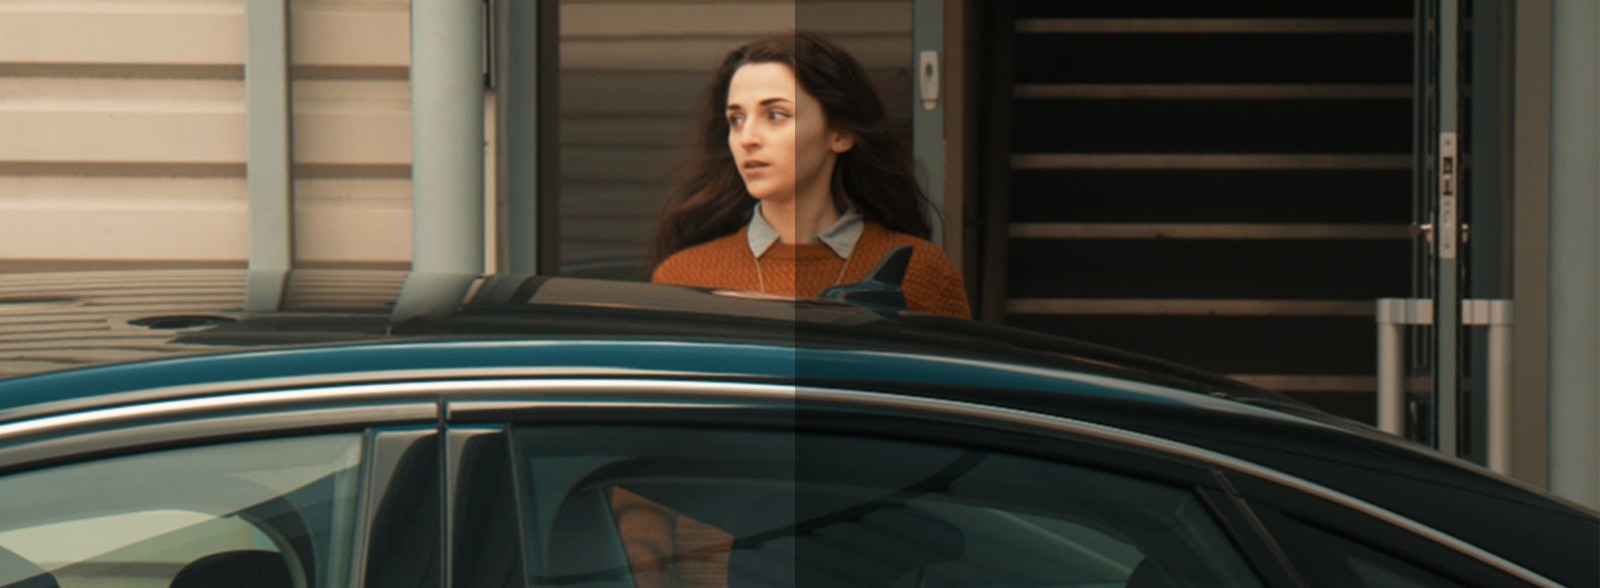
The complimentary colours typically used in many blockbuster movies are teal and orange. The Blockbuster LUT works by first increasing the overall contrast making shadow areas quite dark. Then a teal tint is added to the entire image, whites included. So even a white shirt will have a slight teal tint. Then skin tones and similar pink to red shades are isolated and shifted slightly towards orange and the saturation of these tones is increased. The green saturation is slightly reduced to make the teal and orange tone stand out.
The end result is a modern, slightly blue-ish “steely” look with strong contrast and deep blacks. Meanwhile faces and skin tone will strongly contrast with the rest of the scene.
The look works well across a broad range of scene types and lighting. It tends to work best for darker scenes such as interiors or night scenes, but most exteriors will also work well. The use of teal or orange clothing and props can further enhance the effect.
A common method used to create a stylised look for a movie is to not just increase the luminance contrast but to also increase the colour contrast
The SoLUTion BTS details
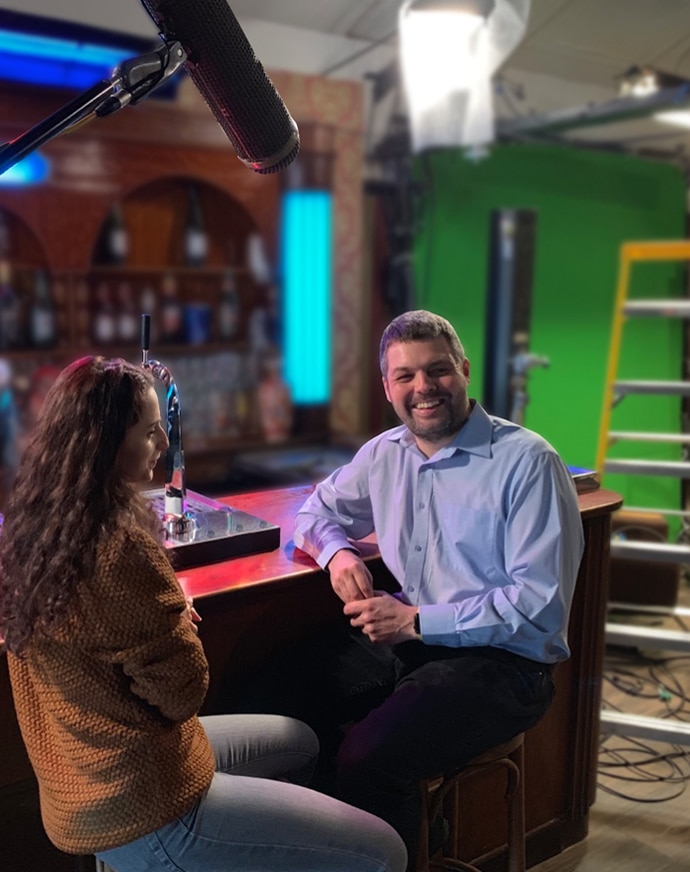
In the short film I shot to demonstrate the Blockbuster look, I chose an orange/brown top for the actress and a blue shirt for the actor to work in sympathy with the LUT. Other techniques, such as mixing tungsten balanced, warm lights for faces and skin tones, plus daylight balanced cooler lights for backgrounds, can also further increase the contrast between the faces of the actors and the rest of the scene. Examples of this can be seen in the video where in the first scene the actresses face was lit with a warm light while cooler daylight comes from the windows behind. This creates nice blue highlights on the edge of the computer monitor.
In the bar scene I used additional lights with blue and red gels to add blue and red reflections and highlights that work well with the LUT. It should also be noted in the exterior shots how the greens of the plants and foliage in the background are subdued compared to the teal and orange tone.
Feature films and drama often use lighting where the main key light is place opposite the camera. This technique can be used to create a dramatic look deep shadows on the actors faces. It is a very different look to the typical TV look where the key light is typically placed in line with or to the rear of the camera. Filming with the camera pointing towards the key light or just off the axis of the key light helps replicate the movie look. The short demo film “The SoLUTion” the key light is opposite the camera in the bar scene and edit suite scene.
The LUT is designed for use in camera as a “User Look” with the FS7 and FS7 II as well as for use in post production with any Sony S-log3 capable camera. You should use S-Log3 and S-Gamut3.cine and expose either normally or with the FS7 and FS7 II
Within the download file you will find a camera LUT for use in the camera plus a set of 3D Cube LUT’s for use in most post production grading and editing packages. Within the grading LUT folder you will find LUT’s with exposure offsets that will provide the optimum results with material that has been exposed brighter or darker than the base level.
If the LUT has a -1p00 suffix this LUT will reduce the brightness by 1.0 stops. If the LUT has a -1p50 suffix it will reduce the brightness by 1.5 stops. You should choose the LUT that best matches your exposure, some experimentation may be necessary to determine which offset best suits your scene and footage.
Download Blockbuster LUTs
More LUTs
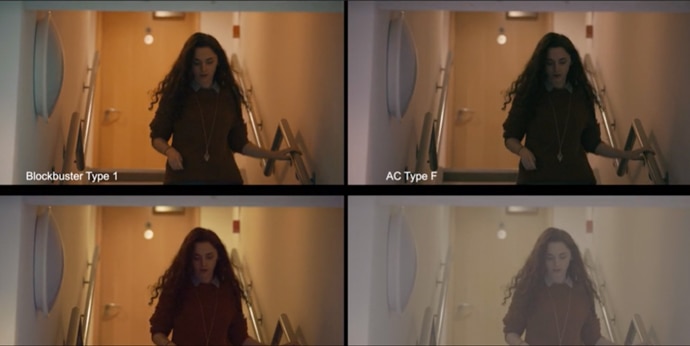
Due to the relative ease with which LUTS can be created, the Internet offers plenty of options beyond my Blockbuster LUT. Sony has several LUTs available for free download from its new LUT Library, while my XDCAM User website has dozens of LUTs including my film like AC Type F and AC Type K Luts. They’re free to download and use, but contributions always welcome to encourage further development. Please take a look if you would like to add more alternate looks to your collection.
Register for more filmmaking tips
Over the coming months, filmmakers will add tutorials covering almost every aspect of professional video production. To be alerted when new videos are released, please register below to receive all the latest updates from Sony, including camcorder news, special events and promotions.

